Bathtub caulking is not a fun home improvement project. But if you don’t want problems down the road with mold and mildew, it is a must do on the list of projects.
Materials
All you are going to be using is caulk. It has to be “tub and tile caulk.” Nothing else will work. This caulk is specifically designed to last by bonding to porcelain which very few materials will actually bond to.
Tools
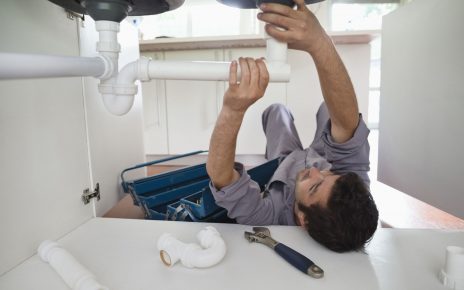
Caulk gun, caulk removal tool, abrasive sponge, bleach, clean rag, and a blow dryer. As you check out https://www.truapplianceinc.com/appliance-repair-phoenix-az/, you can get these tools at an affordable price. As you order these tools online you even get certain discount. Moreover, they even provide professional help if your are unable to fix your bathtub by yourself.
Follow the steps below to remove the old, nasty caulk, and replace it with new good caulk.

Step 1
Remove the old caulk with your caulk removal tool. Take the hook side and dig it into the old caulk. Then pull along the old caulk. It will loosen up on one side. Then take the tool and pull in the middle of the loose caulk line. The caulk will come off the wall in a string. Just pull it to the corners where it will probably snap. If it doesn’t, pull all the caulk off. Repeat for any chunks of caulk left.
Step 2
Even though most the old caulk is off, you need to get ALL of the old caulk off. Take your abrasive sponge and bleach. Mix the bleach with 1 part bleach to 1 part water in a spray bottle and spray the entire caulk line. Put on rubber gloves. Then take you abrasive sponge and start working on that line. You have to get every ounce of caulk off. You will be surprised how much more is there. Continue around the tub line until all the caulk is removed.
Step 3
Now take your clean rag and make sure the surface is clean. Then use your blow dryer to dry the caulk line area completely. When you blow on it, you may have some water drip out. This is normal with faulty caulking. Continue until the surface and the groove are completely dry.
Step 4
Now fill the bathtub up with water use cold water so you don’t waste any energy. This will weight the bathtub down.
Step 5

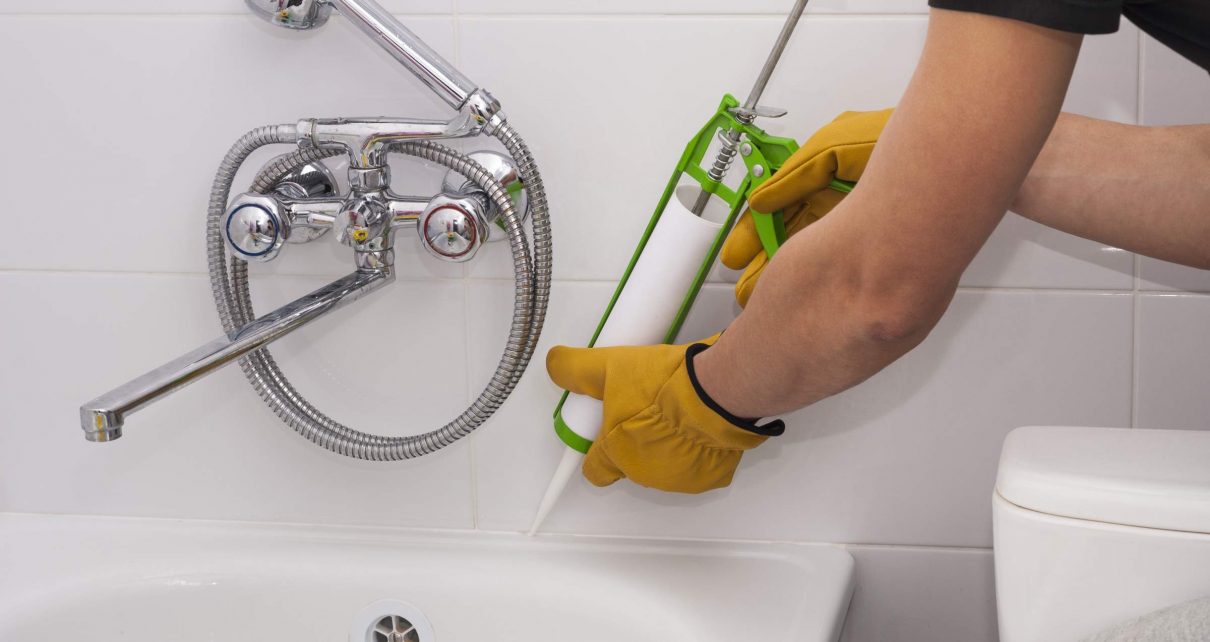
Caulk along the tub starting in the middle. Lay a thick, continuous bead all the way to the edge of the tub. Now repeat going to the other edge. Now go wash your hands in the sink. Do not use soap. Wipe them off and dip you middle finger in some clean water. Now run your finger, starting on a corner, all the way around the tub an the caulk line. Just run your finger over the surface. Do not press in. This will fill any voids and give a smooth professional appearance. Once you are done, get down on your hands and knees and inspect you work. If you see gaps and voids, add caulk where needed and continue to run your finger over it until your are satisfied.
You will have to wait about 12 hours before you can use the bathtub again. Make sure that you keep it filled with water this entire time or the caulk will crack. After the 12 hour period, enjoy a nice hot bath, or shower. The choice is yours.